Creating A New MySQL Connection In Windows
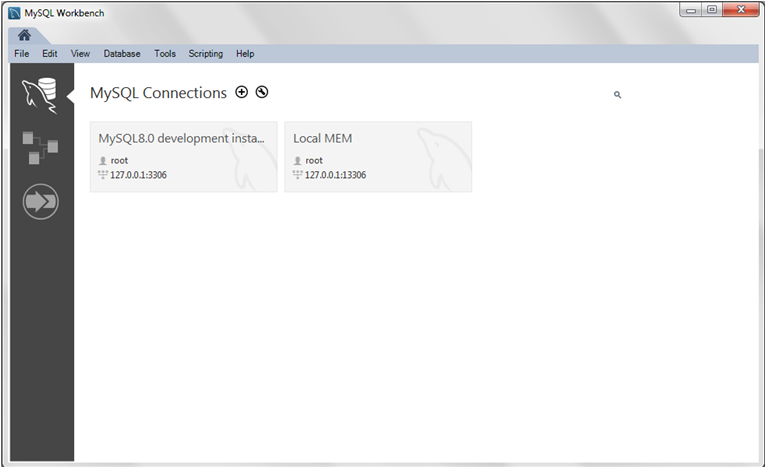
- Launch MySQL Workbench to open the home screen. Existing connections are shown when you click the MySQL Connections view from the sidebar. No connections exist for first-time users.This tutorial adds a new connection that can be either an initial connection or an additional connection. An instance of MySQL server must be installed, started, and accessible to MySQL Workbench before you begin.
- From the MySQL Workbench home screen, click the [+] icon near the MySQL Connections label to open the Setup New Connectionwizard.
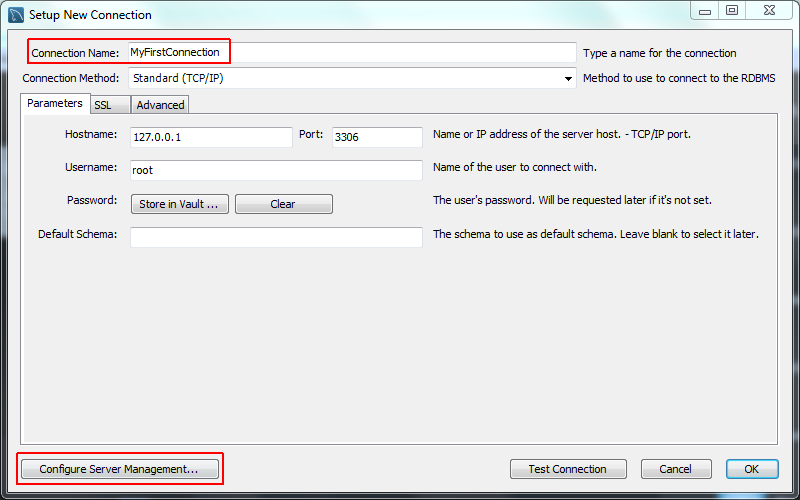
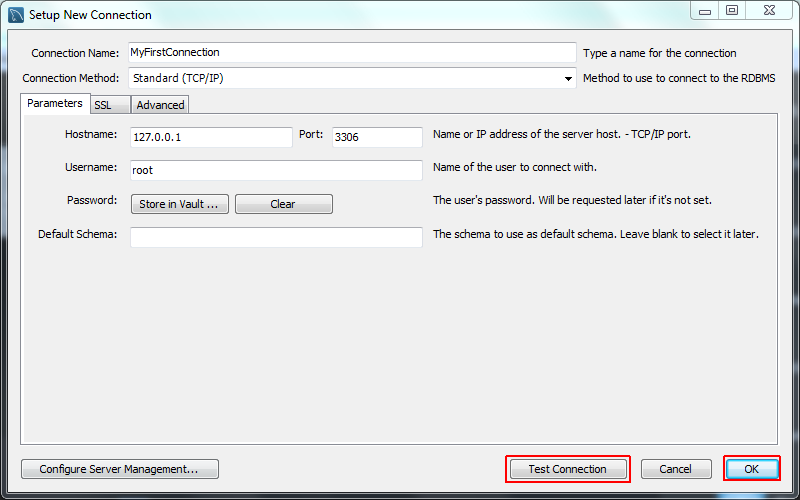
- Define the Connection Name value, such as
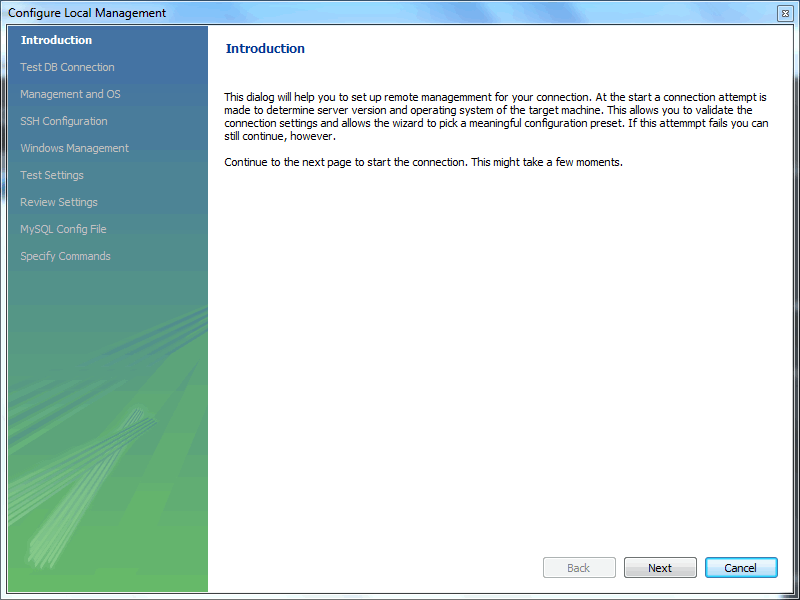
MyFirstConnection.The default connection values are for a typical local setup, so check them and enter the appropriate values. If you are unsure, click the button to check the connection parameters. Do not press .Next, optionally click , which opens up the Configure Local Management wizard: - Read the Configure Local Management introduction, and press to begin defining the new connection parameters.
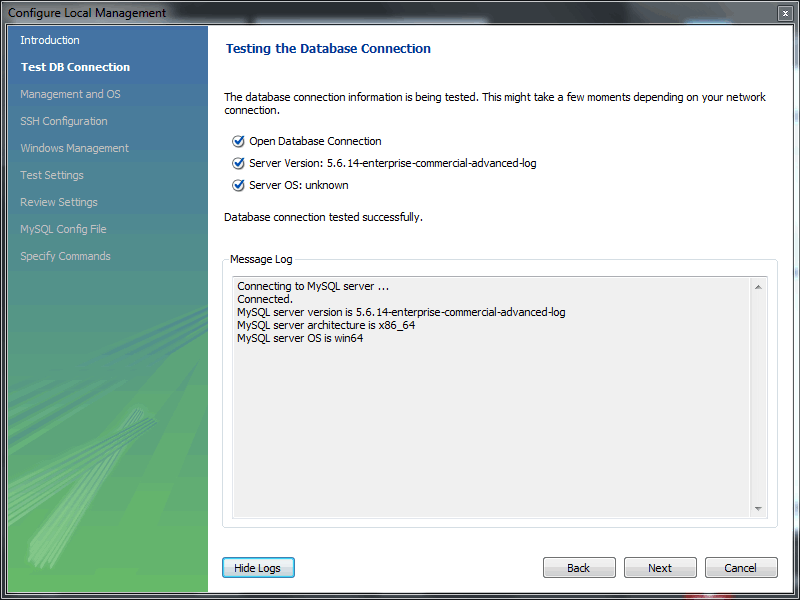
- The connection will now be tested. You should see that the connection was successful. If not, click and check that you have entered the information correctly.Toggle the to view additional details about the tested connection, then click .
- Optionally, you may configure a method for remote management if a Remote Host was specified. Setting these options enables MySQL Workbench to determine the location of configuration files, and the correct start and stop commands to use for the connection.SSH login based management and Native Windows remote management types are available. The Operating System and MySQL Installation Type are configured for the SSH login variant.This step creates a local MySQL connection, so you can skip theManagement and OS and SSH Configuration options, which are used for configuring a remote MySQL connection.
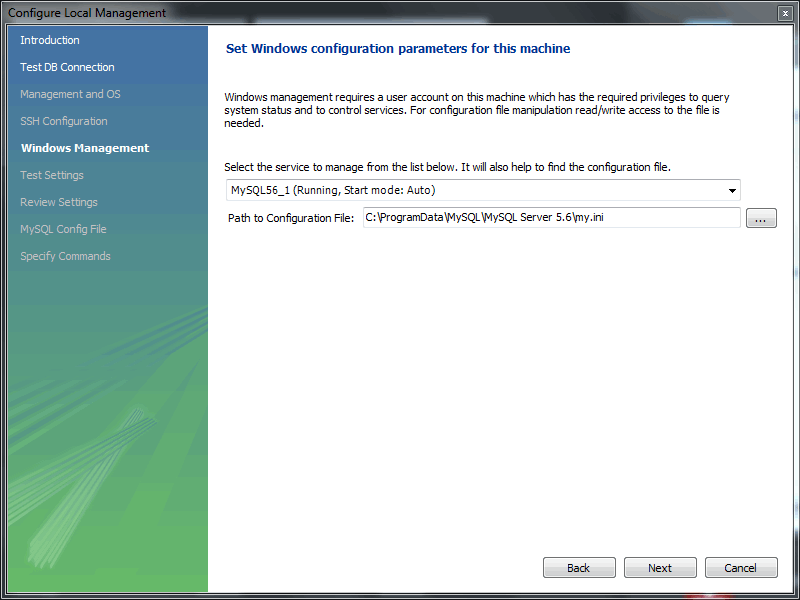
- On Microsoft Windows, select the appropriate MySQL service for the MySQL connection.
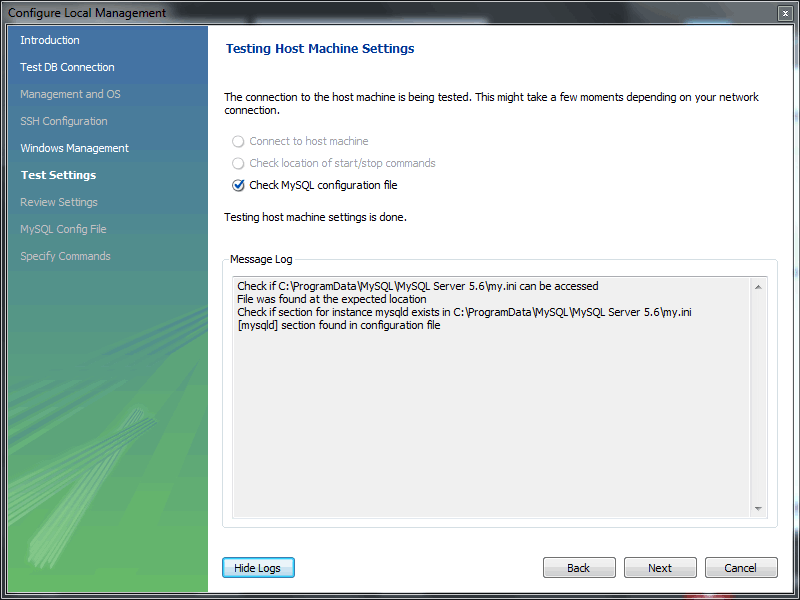
- The wizard will now check its ability to access the start and stop commands, and check access to the MySQL Server configuration file.
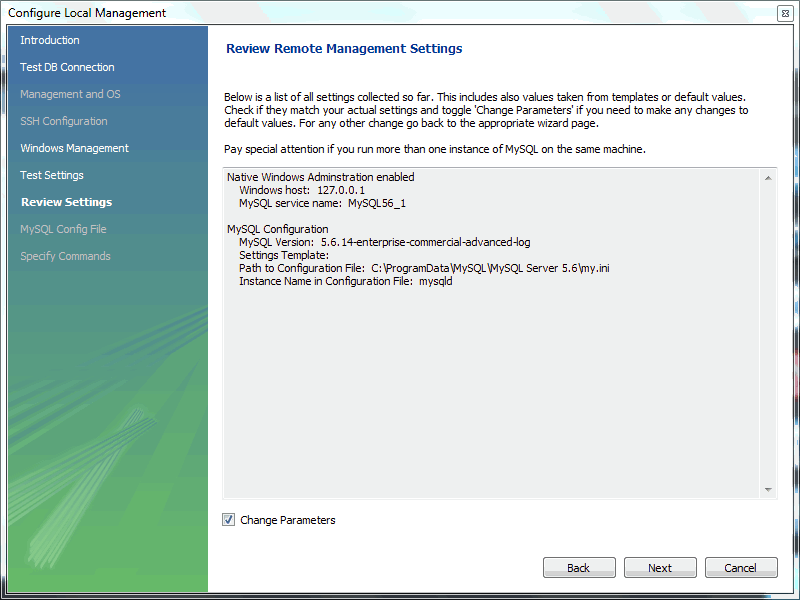
- You now have a chance to review the configuration settings. The information displayed varies slightly depending on platform, connection method, and installation type.At the Review Settings prompt, choose "I'd like to review the settings again" to review the settings. Choosing "Continue" closes the "Configure Server Management" dialog.Check the Change Parameters if you want to check or edit information about the MySQL configuration file. For this example, select the check box and click to continue.
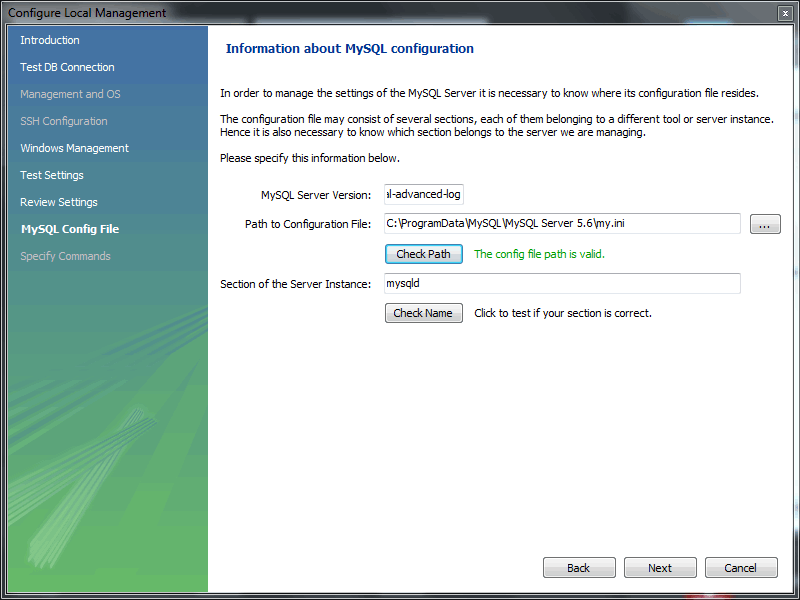
- Review the MySQL configuration file information. Click the Checkbuttons to perform the described checks, or optionally change the configuration file path.
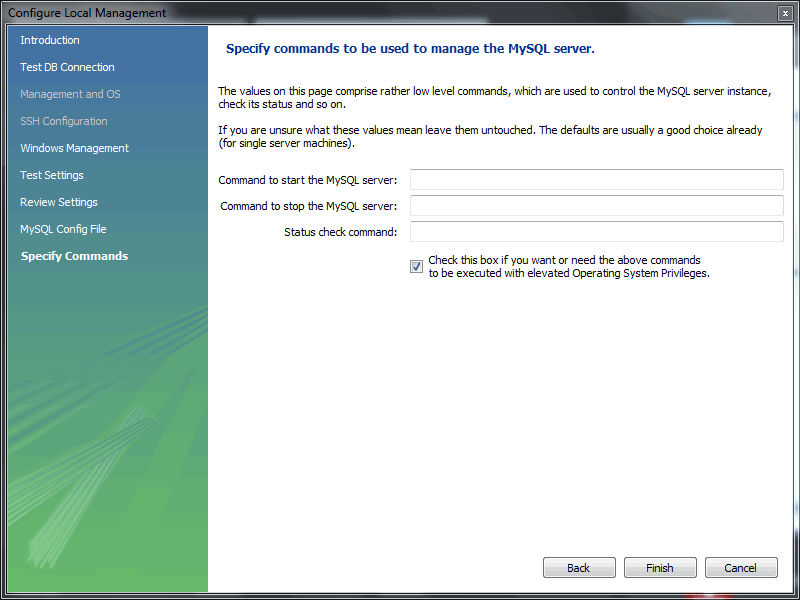
- Optionally, enter your own commands for starting, stopping, and checking the MySQL connection. Typically the default values are used, which means leaving these optional values blank.Click to close the "Configure Server Management" dialog, which reveals the original Setup New Connection window.
- After reviewing the Setup New Connection information, press again to make sure it still functions, and then to create the new MySQL connection.
- Your new MyFirstConnection MySQL connection is now listed on the home screen.
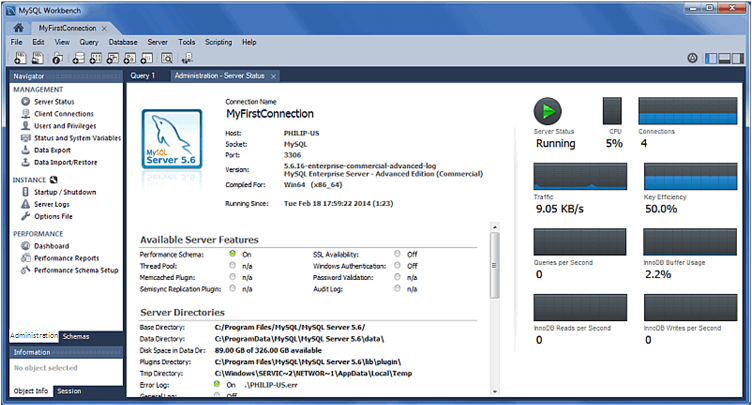
- From the home screen, click the new MySQL connection to open the SQL editor for this connection. The SQL editor is the default page, so now select the Server Status from the left Navigator panel to display the connected MySQL server's current status.
- Test the other Navigator panel options that relate to your new MySQL connection. Check its status, MySQL logs, and measure its performance statistics from the Dashboard.Notice the Management and Schemas tabs on the bottom of theNavigator panel. The Schemas view displays the schemas that are associated with your new MySQL connection. Alternatively, you can merge the Schemas and Management tabs by either clicking the merge icon on the top right of the Navigator panel, or by enabling the Show Management Tools and Schema Tree in a single tab SQL Editor preference.

This concludes the "Creating a MySQL connection" tutorial. For additional information about MySQL connections, see Chapter 5, Connections in MySQL Workbench.
Regard's
Muhammad Waseem Mayo
+ 923007396305
Regard's
Muhammad Waseem Mayo


Comments
Post a Comment