Posts

Showing posts from January, 2016

Mikrotik Hotspot - How to install Login Page Templates (Step-By-Step)

Image
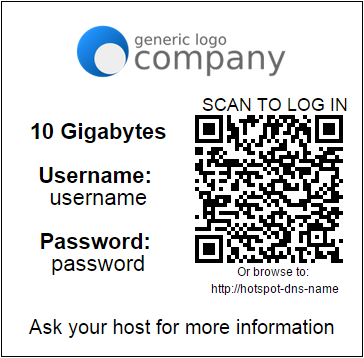
I hope to post new templates as 'n adapt them for my own use, so keep an eye on the templates page. Please note that some of these I did not create myself, I found them online for free, and adapted them to work with Mikrotik. To install the template on your hotspot: 1. Connect to your Mikrotik router using winbox 2. Open the "files" window 3. Drag the "hotspot" folder from the zip file onto the root of your router's file system Remember to check out my login templates  here .
Mikrotik Hotspot Data Limit Trial

Image
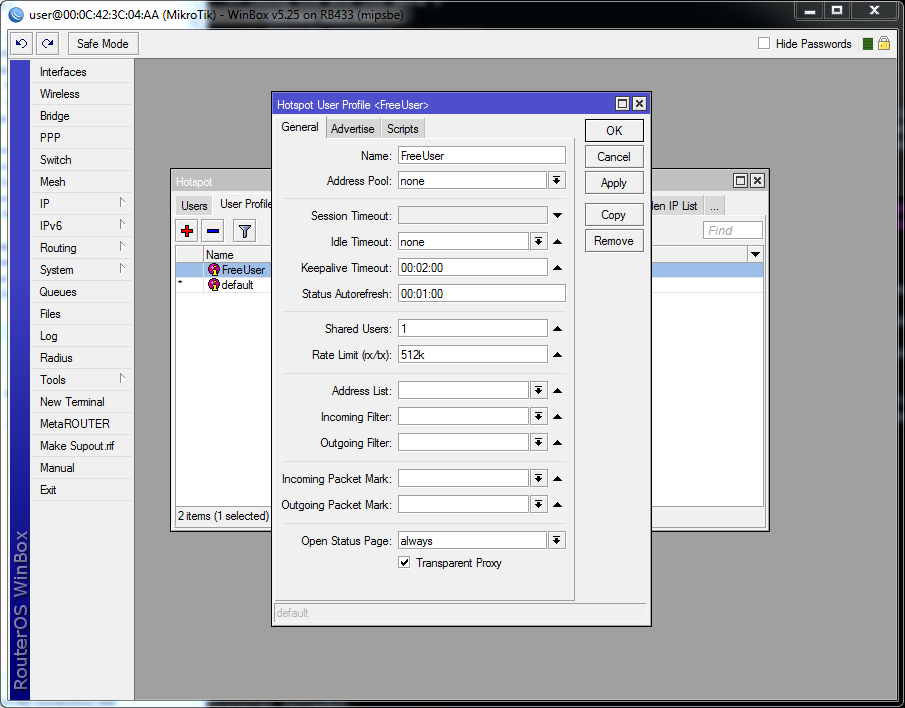
Mikrotik's hotspot service is quite amazing considering what it costs. It does have some limitations though. One of these is the fact that you cannot set a data limit to the trial account, only a time limit. Luckily there are a few workarounds for this, the original concept for this comes from  www.mikrotik-routeros.com  but I have corrected a couple of bugs and added some functionality. Start by creating your FreeUser profile: IP>HOTSPOT>USER PROFILES>ADD Name: FreeUser You can customize this as you like, my preference is to only allocate 512k of bandwidth to the free users Create the following two scripts on your routerboard by going to  SYSTEM>SCRIPTS>ADD Script 1: The first script is the one that checks if a user has reached your specified limit, you can change the limit in the second line of the script. Name: limitdata #Set your dowload limit in MegaBYTES! :local downloadlimitmb "50" ### You will not need to edit anything below this line ### :loc

Mikrotik Usermanager QR Code Vouchers

Image
Add a QR code login to your hotspot vouchers with the following template. Free for commercial use! Open the "User Manager" interface in your browser. Navigate to the "Settings" page Select the "Templates" tab Select "Vouchers" Add the following code in the appropriate boxes: Header Make sure that you update the path to the jquery libraries, you can use mine at : jquery.min.js: https://drive.google.com/file/d/0B-Vs3naHEfHGMWZoaENuSWd6cFE jquery.qrcode.min.js: https://drive.google.com/file/d/0B-Vs3naHEfHGQ2tBQWU5V1ZtSm8 <!DOCTYPE html PUBLIC "-//W3C//DTD XHTML 1.0 Transitional//EN" "http://www.w3.org/TR/xhtml1/DTD/xhtml1-transitional.dtd"> <html xmlns="http://www.w3.org/1999/xhtml">     <head>         <title>Vouchers</title>         <script src="http://path-to-your-host/jquery.min.js" type="text/javascript"></script>         <script src="http://

Layer 7 website blocking using Mikrotik

Image
There are a couple of ways that you can block websites on Mikrotik Routers. One of the easiest and resource efficient ways to do this on a MT is by using Layer 7 inspection. 1. Open up Winbox and connect to your router. 1.1 On the left menu, select IP->Firewall 2. On the Firewall Windows, click on the "Layer 7 Protocols" tab 3. Click on the Add button 3.1 Under the "Name" field, type "Block" 3.2 Under the Regex field, put the text below. You can add more sites by typing in the Domain, and separating them with the pipe "|" symbol. ^.+(youtube.com|facebook.com).*$ 4. Click on the "Filter Rules" tab in the "Firewall" window. 4.1 On the "General" tab, make sure that the "Forward" chain is selected. 5. On the "Advanced" tab, under "Layer 7 Protocol" select the "Block" item that we created earlier. 6. On the "Action" tab, select "reject&

Mikrotik Synchronize Address List

Image
This is a simple script solution to synchronize small address lists between Mikrotik routers. It is limited by the fact that there is a 4096 byte limit for variables in Mikrotik Scripts. I have maximized the number if entries you can sync by putting only the list name and address in the file On the host router add the following script: #Semicolon separated list of Address Lists you want to sync :local lists {"List1";"List2"} #Filename of export (must match receiving router import filename :local exportFile ExportAddressList /file remove [:file find name=$exportFile] :local ipAddress :local listEntry :local fileContents :set fileContents "" :foreach listName in=$lists do={   :foreach listEntry in=[/ip firewall address-list find where list=$listName] do={     :set ipAddress [/ip firewall address-list get $listEntry address]     :log info "=$listName"     :set fileContents "$fileContents$listName=$ipAddress\n"     } } /file p

Top Mikrotik Tips

Image
Running Mikrotiks in the field? Here are my top tips for making the most of your Mikrotik Experience: 1. Secure 1.1 - Users and Passwords 1.2 - Access Ports 1.3 - Protect against brute force hacks 1.4 - Anonymize your connection 2. Manual Backups (and why a backup is not a backup) 3. Blocking Sites 5. Remote wake your computer 6. Remote access to your network 1. Securing your router. I once installed a new router at the edge of my network connecting to a new provider. After installing I took a ten minute drive home, from where I planned to do my configuration. By the time I got home, the router had already been compromised. I cannot overstate the importance of securing your router, it is absolutely crucial in terms of maintaining a stable network. 1.1 Users and Passwords The default Mikrotik Username is admin, and it has no password. My first step when setting up a new router is to remove the admin user and replacing it with something more secure: Log in using WinBox On

Mikrotik DHCP Option 43 Tutorial

Image
Step by step instructions to get DHCP Option 43 working on Mikrotik RouterOS 6.x Many consumer devices allow you to pass configuration parameters like auto provisioning servers and such via dhcp. DHCP option 43 is used by Yealink, Ubiquiti and Ruckus as well as many others. My need was to use it to send the address of the provisioning server to a number of Yealink T23G IP phones to make deployment easier. I will assume that you already have the Mikrotik Router up and running, and that you have connected to it using Winbox. You also need to make sure that you have the DHCP package installed. In my examples I will show each step using the GUI as well as using terminal commands to achieve the same result. Step 1: Add an IP Address in the IP range that you will be serving DHCP 1. In Winbox, click on IP then Addresses: 2. Click on "+" and add the appropriate IP details: Code: ip address add address=192.168.50.1 interface=ether5 Step 2:Set up the DHCP server