Linux IPSec Site-to-Site VPN: AWS VPC & Mikrotik Router
In this tutorial, we will use the Site-to-Site VPN scenario with the modification and one of the customer site that is using Mikrotik router, which is also acting as gateway for LAN plus the vpn gateway while from the AWS side, we are using the exact same Ubuntu Linux router.
Please review the previous tutorial before starting this tutorial, as I’ll use the previous tutorial as the base for this one.

Note: Please don’t waste your time in hacking, all these public devices and IP(s) are Temporary, I have destroyed them after finished this tutorial.
VPN Configuration on Mikrotik Site:
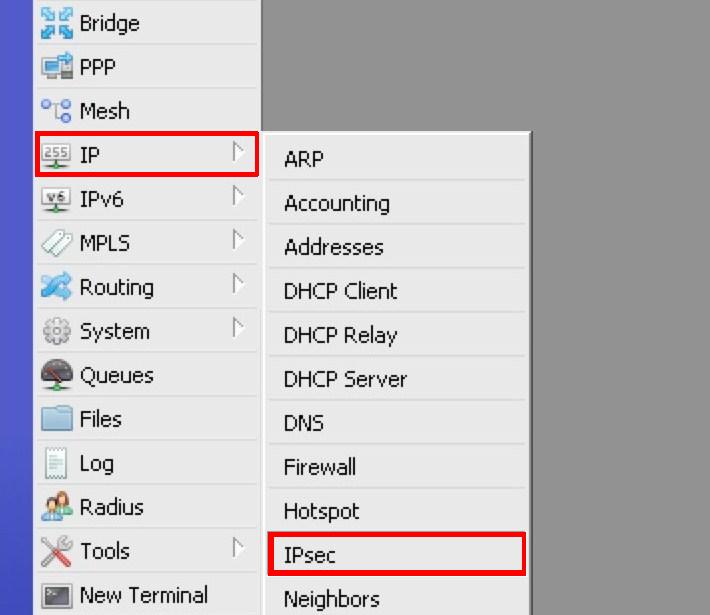
Open the IP->IPsec window in WinBox:
Create a new Proposal(if you don’t want to use the default) as follows:

Now, create a new policy as follows:
From the General Tab
Src Address: Mikrotik LAN 192.168.10.0/24 Subnet
Dst Address: AWS VPC 10.100.0.0/16 Private Subnet

From the Action Tab:
SA Src Address: MIkrotik WAN Address 102.162.166.90
SA Dst Address: AWS VPC Linux NAT Router WAN Address 54.219.146.242
Tick the Tunnel checkbox
For Proposal: Use LAN2AWSProposal or whatever proposal you have created in the first step.

Next, Move to the Peers tab and create a new peer by using the public address of AWS NAT Instance as Address:

Next, create a NAT Bypass rule, to exclude the AWS VPC Private Subnet(s) to be natted:


Placed the above created rule at the top of all other NAT rule(s) and clear the connection table from existing connection or reboot the Mikrotik.

VPN Configuration on AWS VPC:
Also allow the ICMP packet on internal subnet security group from the remote LAN for testing purpose:

Edit the ipsec.conf file:
vi /etc/ipsec.conf

Here is the addition to the ipsec.conf file (please refer to the ipsec.conf file from previous tutorial):
conn AWS2MikrotikConnection
 left=10.100.10.10
 leftsubnets=10.100.0.0/16
 leftid=54.219.146.242
 leftsourceip=10.100.10.10
 right=102.162.166.90
 rightsubnets=192.168.10.0/24
 rightid=102.162.166.90
 pfs=no
 forceencaps=yes
 authby=secret
 auto=start

Edit the shared secret file:
vi /etc/ipsec.secrets

Mine ipsec.secrets file as an example:

Restart the IPSec service:
service ipsec restart

Verify the status of IPSec service on Ubuntu at AWS VPC:
service ipsec status

Note: Please don’t panic, just restart the service one more time if it didn’t come up.
Verify that the Traffic is passing through the Tunnel:
Ping from the AWS vpn gateway to the Mikrotik LAN IP:

Ping from AWS VPC private Subnet to Mikrotik’s LAN for verification:

Ping from the Local machine to the machine on VPC Private subnet:


VERY Useful Tip:
If the Tunnel didn’t come up after the configuration, just restart the server and also start the ping from your LAN host to other side LAN host.
Please Remember me in your prayers!
Enjoy


Comments
Post a Comment